Frayed or cut webbing
Fraying along an edge, a cut or nick anywhere in the strap, or damage where the belt passes a guide, trim edge or door shut line.
Action — do not use; arrange inspectionCategory 03 — Replacement
How to recognise a restraint that needs professional attention, what post-collision use means, why compatibility decides the replacement, and why fitting is not a job to take on alone.
01 — The Starting Point
A restraint that is worn, damaged or not operating as designed is not a minor irritation to work around until it becomes urgent. It is a component whose entire purpose is to perform once, unexpectedly, and perfectly. This page sets out how to recognise when that component needs professional assessment — and what happens next.
02 — What to Look For
None of these is a diagnosis. Each is a reason to have the assembly assessed by a qualified automotive professional rather than left in service.
Fraying along an edge, a cut or nick anywhere in the strap, or damage where the belt passes a guide, trim edge or door shut line.
Action — do not use; arrange inspectionHeat damage, chemical or oil staining, or webbing that has gone stiff and boardy compared with the rest of its length.
Action — arrange inspectionSignificant colour loss, a fuzzy or thinned surface, or an area that looks visibly different from the rest of the strap.
Action — arrange inspectionSeveral attempts needed, no positive click, or the tongue has to be held at an angle or jiggled to engage.
Action — do not rely on it; inspectThe belt unlatches on its own over a bump, when knocked, or when the occupant shifts position in the seat.
Action — immediate inspectionExcessive force needed on the release button, or the tongue sticking in the buckle after the button is pressed.
Action — arrange inspectionWebbing that will not pull back in fully, returns lazily, or leaves slack hanging out of the spool.
Action — arrange inspectionA belt that locks during ordinary use, refuses to pay out normally, or has to be coaxed out every time.
Action — arrange inspectionAny perceptible movement at a mounting point, visible corrosion around a bolt, or damaged and missing trim covers.
Action — do not use; inspect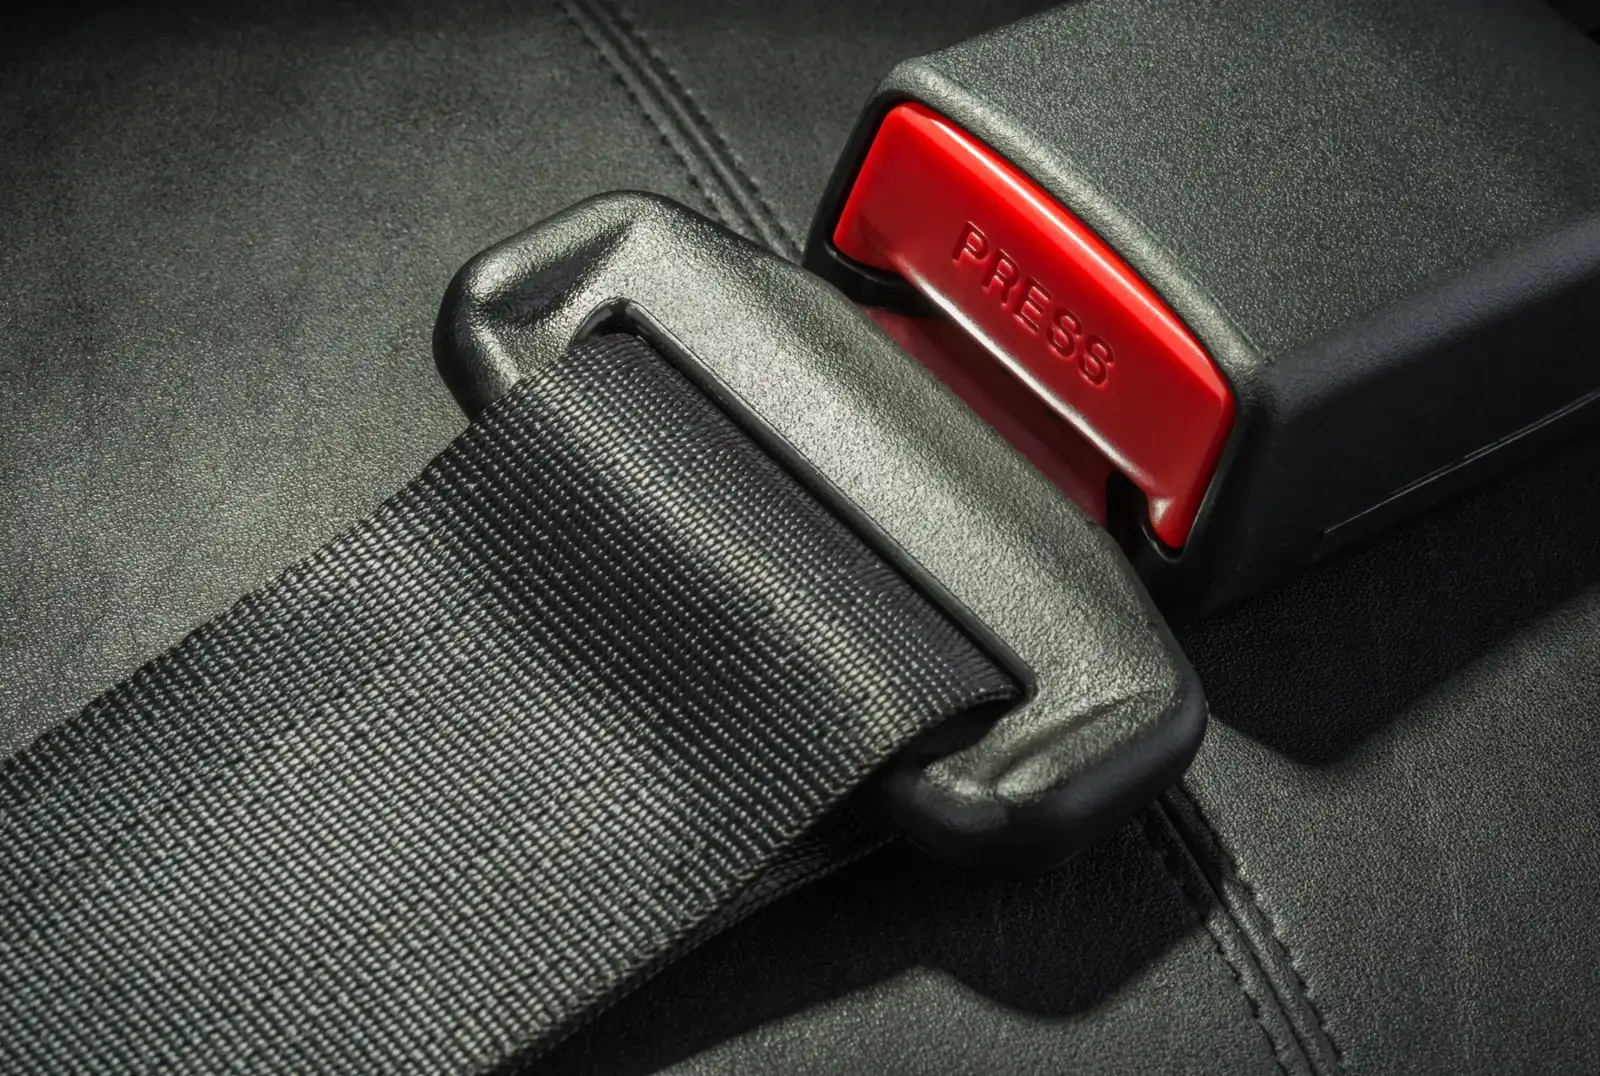 Buckle · Release mechanism
Latch the belt and release it several times in a row, paying attention rather than rushing. You are looking for three things: that the tongue enters smoothly and without alignment tricks, that the click is clear and positive, and that the release is clean at normal button pressure.
Then, with the belt latched, give the webbing a firm steady pull away from the buckle. It should hold without any hint of movement in the latch. Any doubt about any of these is a reason to have it looked at properly.
03 — After a Collision
When a seat belt restrains an occupant during a collision, it does its job by absorbing and transferring energy. Webbing may stretch, hardware may be stressed, and where a pretensioner is fitted it may have deployed. Much of that is invisible afterwards — a belt can look entirely normal and still have been through something significant.
For this reason, many vehicle manufacturers set out specific requirements covering restraint components after a collision, and those requirements can extend beyond the belt itself to associated parts. They exist because a visual check cannot confirm that an assembly is still capable of performing as designed.
The practical position is simple: after any collision, have the restraint system assessed by a qualified automotive professional working to your vehicle manufacturer's guidance. Do not treat the absence of visible damage as evidence that everything is fine.
04 — Getting the Right Part
Once replacement is agreed, the question becomes which part — and this is where enquiries most often go wrong. A seat belt assembly is designed for a specific vehicle, a specific seating position and a specific side of the vehicle.
What has to line up:
Photographs of the existing assembly, including any label on the webbing near the lower anchorage, resolve more of these questions than any written description.
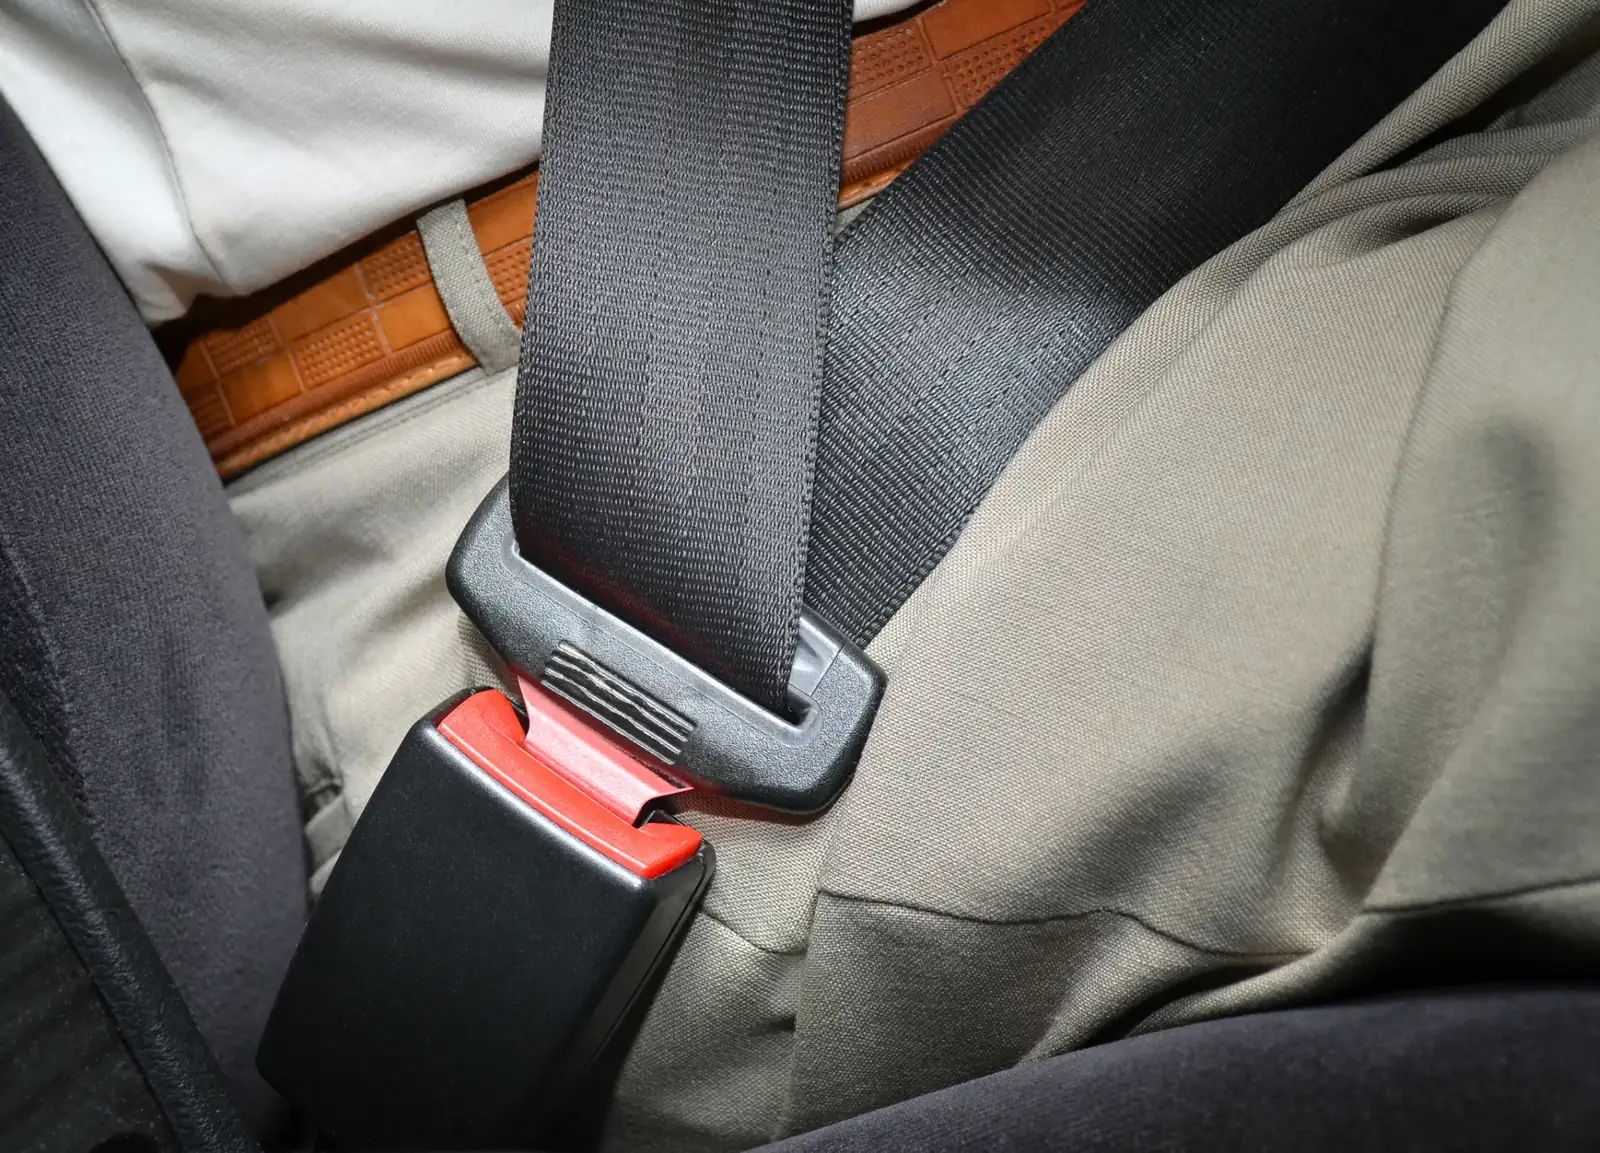 Assembly in service
05 — Installation
A seat belt transfers load into the vehicle structure. Whether it can do that depends entirely on how it is mounted — which is engineering, not assembly.
06 — Enquiries
Make, model, variant and year. VIN or chassis number where you have it. For commercial vehicles, add the cabin or body type.
Which seat, which side, and which row. If more than one position is affected, list them — it often changes the answer.
What you observed, in your own words. "The strap will not pull back in" is more useful than a guess at which part has failed.
The belt as fitted, the buckle, the retractor, each mounting point, and any label or marking on the webbing.
Replacement Enquiries
Describe what you are seeing and send a photograph. If the honest answer is "have it inspected first", that is what you will hear.